Replace the 1/4-inch Output Jack
The 1/4-inch output jack on an electric guitar isn't all that hard to replace. It's so easy I often change it out before it breaks. The peace-of-mind is well worth it. Most inexpensive import guitars have a low quality jack that is prone to failure that plain sucks.
The guitar under modification is a Squier Mini, an excellent guitar to learn mods, tweaks and setup with.
Tools Needed
These are the tools you need:
- Solder station or Iron
- Solder and Solder Sucker
- Philips screwdriver #2
- Side cutters for electrical work
- Socket wrench with 12mm & 1/2" sockets
 Solder station Solder station |
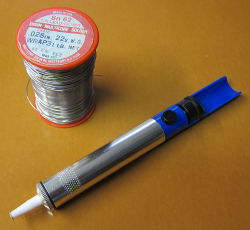 Solder and Solder Sucker Solder and Solder Sucker |
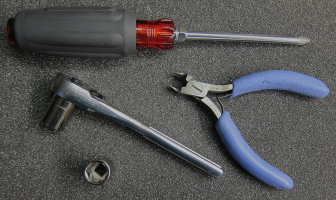 Philips screwdriver, wrench, sockets and side cutters Philips screwdriver, wrench, sockets and side cutters |
New 1/4-inch Output Jack
Obviously, you need a replacement jack. The output jack on the Squier Mini is the cheapest import imaginable. For replacements I only use Switchcraft part number 12A. In fact, the exact same component is sold under several brand names. You should be able to get it for $2.00 or less. I buy them in bulk from Mouser Electronics and use the exact same jack for guitars and amps.
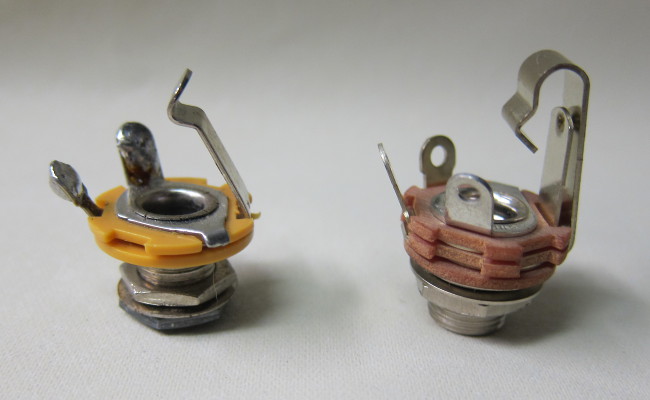 Cheap import 1/4-inch output jack (left), Switchcraft brand (right)
In the picture above you can see an inferior import jack compared with a quality Switchcraft. Maybe the most obvious difference is the shape of the contact blade. Less obvious maybe, is the quality of the nut - the import looks like pot metal, whereas the Switchcraft is machined and plated. The Switchcraft jack is definitely a more rugged design, so it goes without saying, it will last longer and take more abuse.
If your guitar has a Switchcraft jack, there is no need to change it assuming it is working OK. There are import jacks that look more similar than the examples given here. However, the Switchcraft jacks can be identified by the trade name stamped on the inside flange of the grounding sleeve. It should have the name "Switchcraft" stamped on it. See picture below.
 Note the name "Switchcraft" stamped on the grounding sleeve (right)
Here we go
Remove the Jack Plate
First, remove the jack plate using the Philips-head screw driver. Be careful not to scratch the finish of the guitar.
Removing the jack cup on a telecaster or jack plate on a Les Paul is about the same. Just make sure you use the proper size Philips screw driver for the screws.
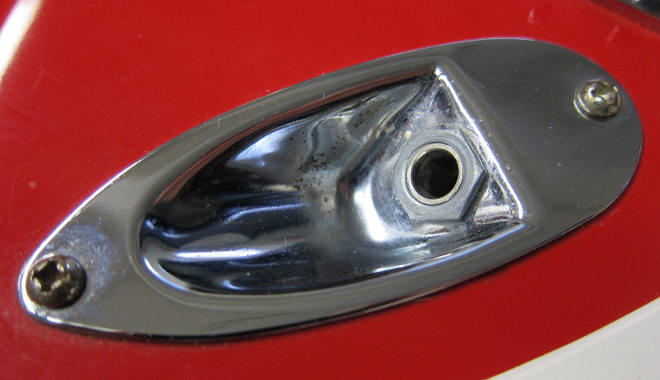 Import 1/4-inch output jack plate. Note the cheap-looking die-cast nut
Next, use the 12mm socket and remove the face nut. hold onto the jack with your other hand.
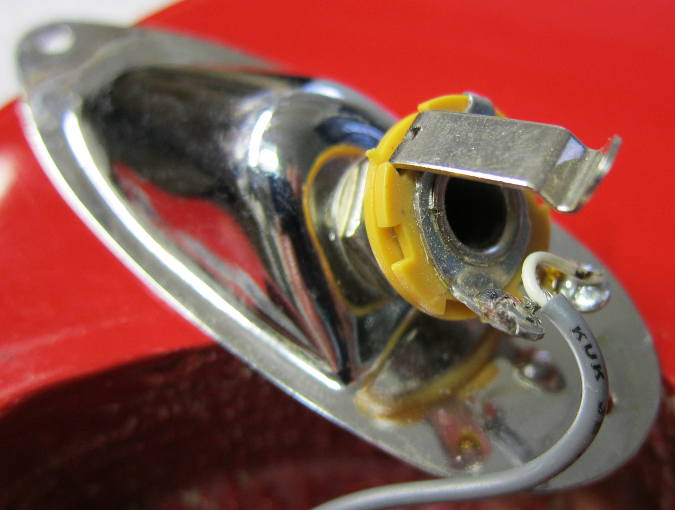 The back of the 1/4-inch output jack plate
I worked on this jack not too long ago, so its tidier than when I found it. The nut was loose which had led to the wire breaking. I re-soldered the old jack, which is what you see in the picture above. The loose nut is a common problem that often leads to the wire failing if not corrected.
There may be other wires attached to the jack. Most common is a separate ground wire going to the bridge. Make sure all wires are connected the same as when you started. It's often a good idea to take a couple of pictures before you start the disassembly.
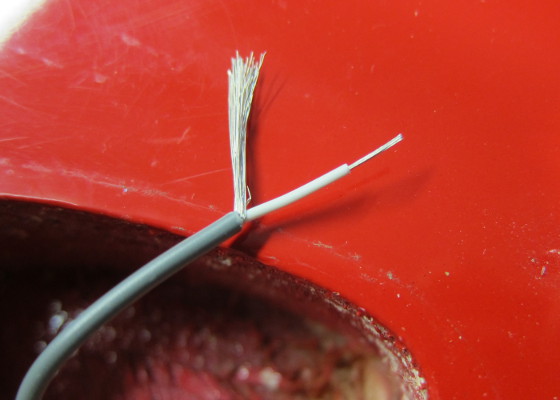 Shielded cable has been stripped back in preparation
Cut off the wires close to the old jack and strip the insulation. In the picture above about 7/8" of the outer insulation and 1/4" or less of the inner has been stripped. Next, twist the strands together on the shielding and the lead. Tin the tips lightly using the solder iron and the solder.
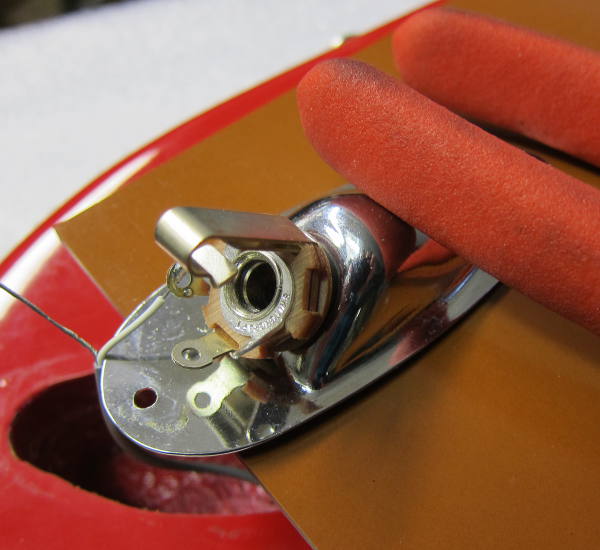 The new jack installed
Next, install the new jack. Use the 1/2" socket to tighten the nut. Note the orientation of the contact blade in the picture above. It's the only way it will go back together.
I placed a piece of board on the top of the guitar to protect it from solder and flux spatter. A better option may have been a towel or old T-shirt. I also placed a pair of pliers on top to hold it while I soldered.
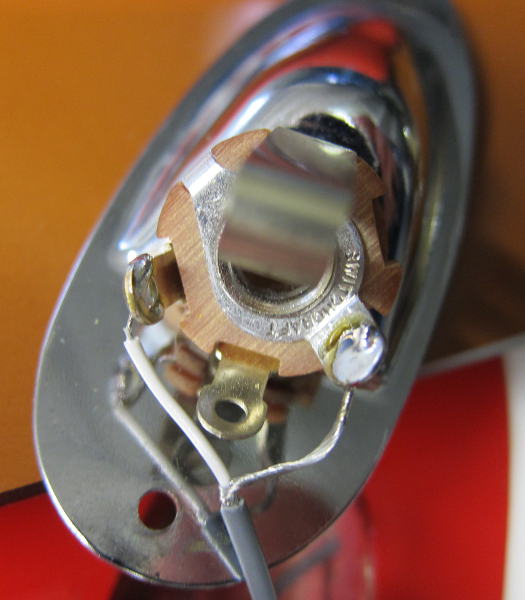 Here the new jack has been soldered in place
Solder the lead and shield as shown above. Don't make it too tight.
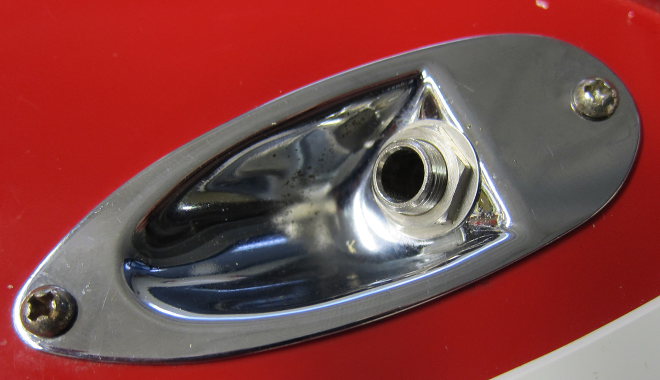 1/4-inch output jack installed. Note the rugged-looking nut.
Reattach the jack plate to the front of the guitar. You're done!
Recent Articles
-
Speaker Plans
Feb 04, 18 05:23 PM
Speaker plans for download - free pdfs for DIY builders and tire kickers
